A Basic Medic Guide – by Billie Joe
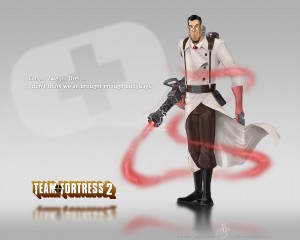
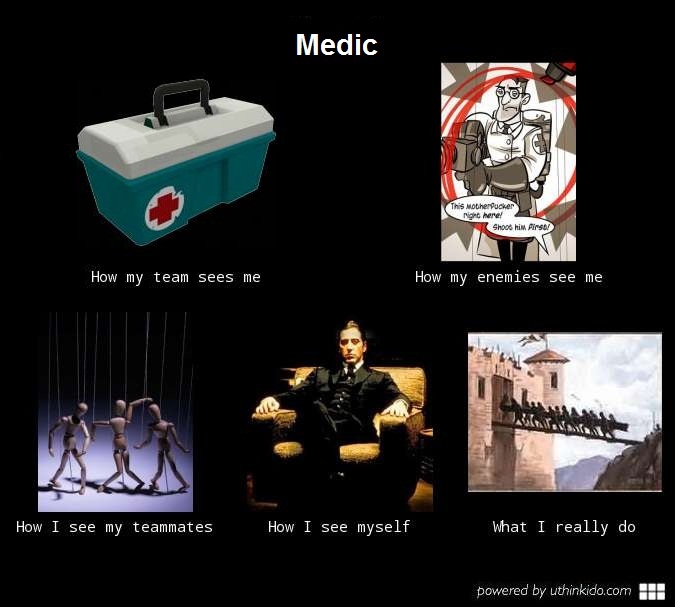
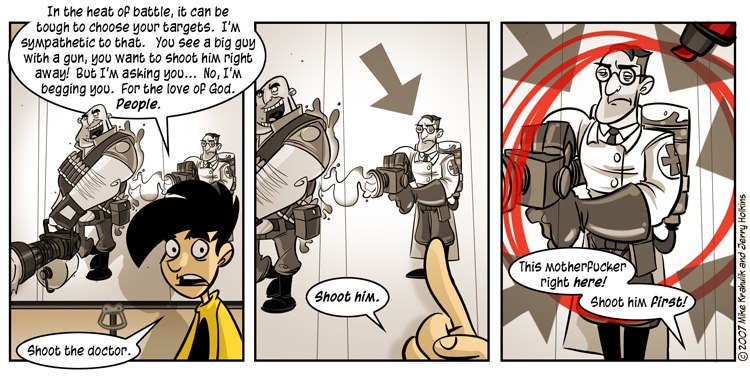
Few people in Hong Kong servers play Medic. The reason is obvious: You are weak in general combat. You always die as you are the most prioritize target. Your teammates won’t support you. However, the Medic class is one the the most important class in the game. The reason is also very obvious: You can keep your buddies healthy and happy during combat. You can unleash deadly Übercharges, Kritz, Megaheals, so that your team can advance or stop an assault. Many times when you join a server, the team with more Medics is likely to be the winning team. As the Medic class is of vital importance, the existence of this unofficial guide becomes significant, and I hope after reading this guide, you can be the tide-changer in any of the matches.
Act 1: Your Role
As a Medic, your primary role is to heal your teammates, and not only the Heavy in front of you. You are responsible to heal ALL of the teammates. Normally, you prioritize your healing targets according to their health and their status (On fire, bleeding, soaked with Jarate or Mad Milk etc. etc.), but if you can only heal one person, you tend to heal a general combat class, or you heal the best player in your team. If you can choose, it will be the best if you can overheal all of your teammates.
Priority General Healing List (Neglect skill level and status)
Medic > Heavy > Soldier, Demoman > Pyro, Scout > Engineer > Sniper, Spy
Also, Übercharging your teammates when your meter is fully is also one of the vital jobs that a good Medic need to perform. With your timely Übercharges, you can save your teammates in a potentially fatal situation, or you can assist your teammate to wreak havoc. In short, Übercharge is THE key to success.
As mentioned before, Medic is the most prioritize target in Team Fortress 2 as you are proved to be very important for a team. Therefore, in order to maximize your usefulness, survival is also what you need to do. Avoid to be blood-thirsty, and learn different escape routes in case you need to use them. Sometimes you need to sacrifice your teammate’s life to save yours (No bad feelings here).
To sum up, to become a good Medic, you need to heal all of your teammates, unleash timely and suitable Übercharges, and learn how to survive.
Act 2: Your Arsenal
To be a successful Medic, what you need is your Vanilla set, coupled with the Kritzkrieg, the Quick-Fix, the Übersaw, and perhaps the Vita-Saw.
Your primary weapon is the Syringe Gun, which shoots somehow weak syringes to your enemy via a projectile motion. However, the Syringe Gun is a heavily underestimated weapon. When in extreme close range, the damage potential of the Syringe Gun is even higher than that of the default Flamethrower. However, don’t be too blood-thirsty and shoot the enemies using the Syringe Gun all the time. Remember: You are supposed to heal people, not killing people. The Syringe Gun is supposed to be used as a self-defense weapon.
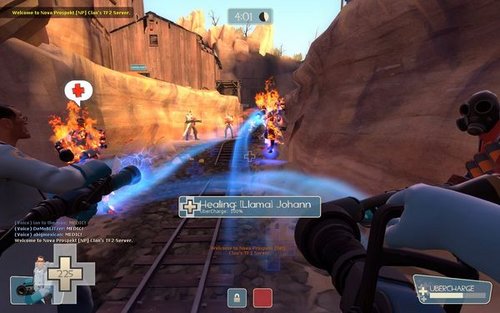
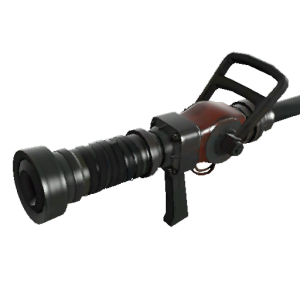
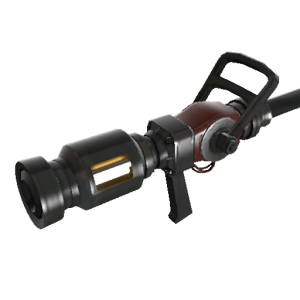
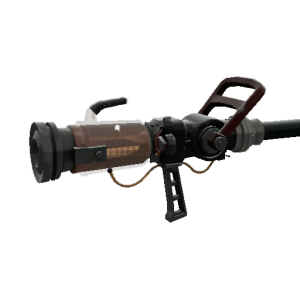
Your secondary weapon, well, not a weapon exactly, is a Medi Gun, that is able to heal your injured teammates, and to overheal them to 150% of their original health, providing them a massive advantage when fighting against enemies. Even more, during healing, you’ll built up a Übercharge meter, and you can provide up to 8 seconds of invulnerability (Medi Gun), guaranteed critical hits (Kritzkrieg), or a triple healing rate with immunity to movement-impeded attacks (Quick-Fix) to your teammates (and sometimes yourself), potentially winning the game.
Your melee weapon, which is the Übersaw, can help you to gain 25% of your Übercharge for each hit, which can pressurize the enemy with frequent Übercharges. However, keep in mind that the damage output of the Übersaw is lower than that of the Syringe Gun, therefore I recommend you to use the Übersaw to leech Übercharge only when the enemy is not looking at you, thus giving you an advantage. Other than the Übersaw, if an Übercharge is of dire need in some situations, I recommend the Vita-Saw, as it may shorten the time for you to charge up, unleashing that vital Über at the critical moment.
Act 3: Gameplay
3.1 Healing
Healing, as mentioned above, is the role of the Medic. Look at the title of this guide, ‘Medic – The Liquid-Sandvich Dispenser’ clearly illustrates his job. Your primary job is to not letting your teammates die. Which means, in general cases, heal the person with lower heal. Hey. you may ask, so what is the priority list above is about? Well, the priority list is only applicable when your teammates are in the same state. So, who should you heal? The logic (According to priority), is as follow:
Health > Priority List/Situation > Skill Level
Which means (GENERALLY):
1. Heal the guy with lower health. When players with low health scream for Medic, their Medic bubble will appear red. Players on fire will have a flaming bubble. Use this feature to make quick decision.
2. If the guys are of the same health, heal according to the priority list or situation.
E.g. There are 2 heavies with the same skill level and of the same health, a group of enemies suddenly appear and started firing. One of your heavies returned fire while the other is Looking for ammo/Unaware of the enemy/AFK-ing, you know what to do.
3. If all the above are the same, heal the better person.
4. If the two people are identical, heal both sporadically.
However, the above is only a theory. You must bear in mind that you should heal according to the current situation. This skill cannot be taught and must be obtained after hours of gameplay.
After talking about who to heal, now I am going to talk about healing rates. In the spawn or if the target was damaged less than 10 seconds ago, then they are healed at the normal rate of 24 health per second. From 10 to 15 seconds, this rate increases linearly from 24 up to a maximum of 72 health per second. Therefore, this information is crucial for smart medics who wish to calculate how many seconds he need to fully heal a player. In addition, the Quick-Fix is able to heal 40% faster, making your teammates healthy and smiling faster.
Also, healing is also the building block for you to charge up your Medigun. Bear in mind that ÜberCharge building rate is halved if the target is at 142.5% health or above. If more than one Medic is healing the target, charge building speed is divided by a factor of the number of Medics healing that target. This encourages Medics to heal different target, rather than buffing up a heavy or such. For Medics wielding the Medigun, the minimum charging time is 40s (Max is 80s), Kritzkrieg minimum charging time is 32s (Max is 64s), and the charge rates for Quick-Fix is the same as Kritzkrieg. With this mechanism, the game actually encourages people to pop their Kritz and Megaheals more often, as it is more easy to obtain them again.
3.2 Übercharge
As mentioned above, a timely and well-chosen Übercharge is very vital, therefore you need to know when to pop a Übercharge, and which Medigun you should use.
3.2.1 Medigun
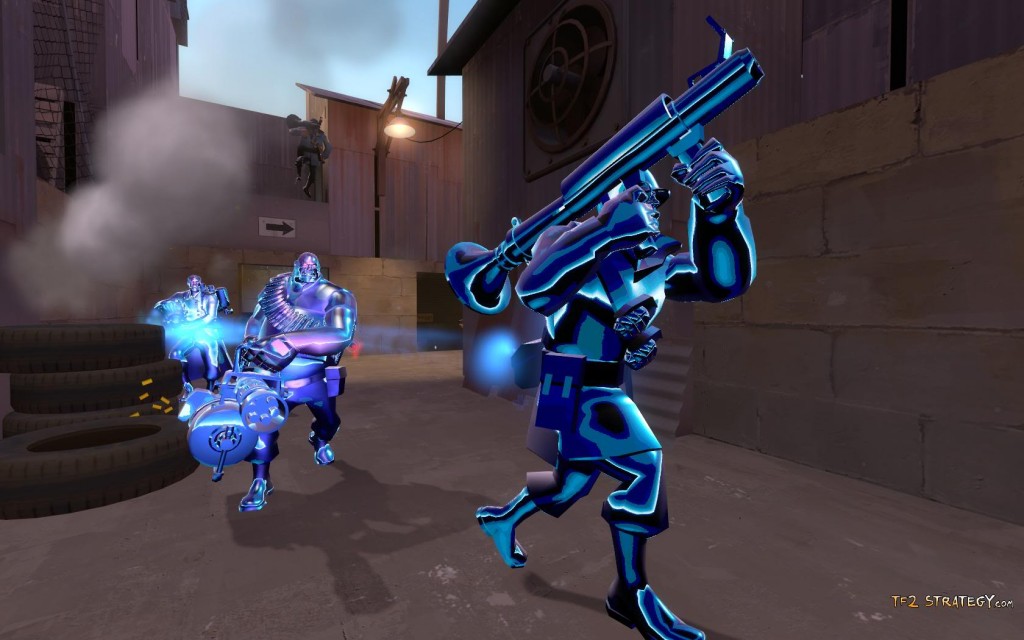
It is optimal to use the Medigun when you need to help your team in destroying sentry nests, highly fortified position, as the granted invulnerability can help your teammates able to survive in such situation. Invulnerability is granted to you and your healing target for a total of 8 seconds, provided that the charge is a whole one and you are only Übering him during the charge.
For basic Über timing, you should pop your Über when you or your healing target is at the brink of dying. In this case your teammate can deal his damage for a longer period of time in front of the seemingly impermeable defense.
For scenarios in which you need to deal with sentries, it is recommended for you to take in all the incoming fire by crouching in between your healing target and the sentry. As sentries target the frontmost enemy, you can help your teammates to walk more freely without taking knockback force for sentries as you’ve taken all of it. But aware, as Medic is comparably light in weight, DO NOT jump while taking sentry fire as you’ll be severely knockbacked, or even get pinned at the skybox, separately yourself from your healing target, killing your teammate and wasting your Über at the same time.
However, despite the fact that you and your target is invulnerable, it is noted that both of you guys will still take knockback forces by explosives, sentry fire (as mentioned above) and compression blast by the pyro. Beware of any motion-stopping forces that might separate you from your healing target.
When a Über is about to end, it is recommended for you and your target to fall back. However, if your healing target don’t have the intention of falling back, you should either follow him or ditch him according to different situations. Either way, you should be able to survive after you use the Über.
Despite the fact that Über is generally used when you assault, it can be proved useful for defensing as well. When enemies are capping the last point or pushing the cart to victory, you and maybe one of the teammates (if you have one) can defense the point for a precious 8 seconds by walking onto/near the objective. This is a viable last resort defensive measure.
3.2.2 Kritzkrieg
It is optimal to use the Kritzkrieg when the opposite team are mostly clustered together and don’t have a lot of engineers. When you activate your Kritz, your healing target is granted full crits for a total of 8 seconds, wrecking havoc on his way, provided that the charge is a whole one and you are only Übering him during the charge.
For basic Kritz timing, you should pop it when you are your healing target are at high health, ammo fully loaded, and facing a bunch of enemies. This is particular effective when enemy players are surrounding the objective, such as the payload cart or a control point.
Kritz is recommended for some class, such as the Soldier, Pyro, Heavy and the Demoman. For Soldier and Demoman, it is recommend to activate the Kritz on them when you guys are facing groups of enemies clustered together, as the blast damage of the explosives can be proven devastating. The Demoman is more optimal for a Kritz, as they can fire a total of 12 explosives without reloading, while a Soldier only has 4. For Heavy, it is recommend to activate the Kritz on them when they are facing enemies spread across an area. For Pyro, it is recommend to activate the Kritz on them when you guys are in close quarters.
However, it must be stressed that the Kritz will not grant you invulnerability, therefore you should be aware of enemy snipers, spies, or any players that attempt to take you out. Stay vigilance. Also, on a side note, buildings are not affected by Kritz, they still receive normal damage from crits. Therefore don’t waste your Kritz on them.
And also, unlike the Über, you and your teammate can capture the objective when you unleash your Kritz. Exploit this to your advantage. Even more, as the Kritzkrieg charges 25% faster than the standard Medigun, this mechanism actually encourages people to be less conservative on their Kritz, and yes, press the right-click more, you team will definitely benefit from it. When a Kritz is about to end, fall back the way you do for a Über.
On a side note, taunting while wielding the Kritzkrieg will heal yourself for 11 health points. Use this to your advantage, or maybe to save your life in dire situations.
3.2.3 Quick-Fix
Unlike the above two healing devices, the Quick-Fix cannot overheal. However, with its faster healing time, it is optimal to use it as a supportive (and situational) weapon, when the number of patients are huge, and you have another Medic in the team which is not using the Quick-Fix.
The Megaheal of the Quick-Fix charges very quick, as the charge rate is 25% higher than that of the Medigun, and it prevents the slower Über building time as your teammate is unlikely to achieve a 142.5% health. In this case, the game actually wants you to pop the Megaheal more frequently, even more than that of the Kritz.
In my opinion, there’s no such thing as Quick-Fix timing. Just pop them when you want to heal all your teammates and maybe yourself as soon as possible. The Megaheal only grants a tripled healing rate and immunity to movement impairing effects such as knockbacks, stun, and slowdown, including compression blasts, for your healing target and yourself, which is not very significant when compared to the Über and the Kritz. Because of this, it is frowned upon by some players, as they look down on the usefulness of Megaheal. Additionally, if you deploy the ÜberCharge but does not target an ally, you are only healed at the normal rate. So use it wisely according to the scenario.
Also, during a Megaheal, you and your healing target are not invulnerable, so beware of any enemy that maybe able to take you down.
As a bonus, the Quick-Fix will make the Medic walk at the speed of any faster healing target. Also, in recent updates, whenever the patient (Most of the time, Soldiers and Demomen)uses an explosive jump (except Detonator and Sentry jumping), the Medic will be shot upward as well. The Medic will be launched with equal force in the same direction. However, this effect cannot be transferred from Medic to Medic, meaning that only the Quick-Fix wielding Medic(s) directly healing the explosive jumper will be launched, not those healing medics being launched. But beware, as the Medic is lighter than the Soldier and the Demoman, you will fly further away than your healing target as the force you received is the same (For people who know Physics, think F=ma). Take account of this when you are your teammate work together. For players who can explosive jump or move faster, you may need to help the Medic to get away using your unique ability by letting them to heal you briefly.
3.3 Self-Defense
As mentioned above, Medic is probably one of the more important classes in the game. Players on the other team will risk their lives to take you down. Therefore, it is crucial to know how to stay alive so that your can be more helpful to your team. In the following, I will attempt to categorize different general self-defensing scenarios in which you may encounter during gameplay. Experience is key to success in this aspect.
3.3.1 With (Good) Medic Buddy
In many cases, enemies will try to flank you when you are healing your teammate somewhere behind the front lines. If you medic buddy is good enough that you think he can protect you from the assault, shout ‘help’ using the voice command (Or scream ‘HELP!!!’ using voice chat), while you dodge the incoming fire and catching the attention of your buddy at the same time, such as running in front of them. In this case, as your Medic Buddy is ‘Good’ he can surely drive away, or even kill, your pursuers.
3.3.2 With (Bad) Medic Buddy / Caught alone
A bad Medic Buddy means that he can’t do anything while people are flanking you. If this is the case, quit healing him and defend yourself. This is also applicable when you’re caught alone. The Syringe Gun is more preferable here, as its damage output overtime outshines the Übersaw. Jump erratically, make special movements to screw up his aim. I’ve experimented a good use of the Syringe Gun, which is ideal to take out Pyros, mediocre Scouts, and melee-wielding classes. When you are taking fire, backpedal while make yourself run in a circle using your mouse and fire your Syringe Gun; most players mentioned above will follow your path, and they’ll get a mouthful of syringes (Trust me, it’s very useful). During the process, try your best rejoining your group of teammates. Be as agile as a scout. Bear in mind that saving your neck is of uttermost importance. Killing enemy is only a side-bonus. Don’t get too blood-thirsty. Also, if your enemy is a Soldier or a Demoman, you can actually make use of their attack to your own benefit. If they manage to fire somewhere near your feet, instead of dodging the projectiles, you can take some damage, and utilise the explosion to perform explosive jumping to increase your mobility. Of course, this skill’s feasibility depends on your health, the terrain, and the position of your teammates. Explosive jumping into a pit is something you need to avoid, as an example.
3.3.3 Protect yourself from Snipers
Many Medics will jump all the time to prevent snipers getting a good aim at them. Unfortunately, this method is only useful when you’re facing mediocre snipers. Advanced snipers can calculate your jump path (Simple projectile motion) and blow your head easily. To screw up the aim of all snipers, it is recommended for you to crouch and jump alternatively and randomly. This will make the path of your head more unpredictable, saving your life from eagle-eyed snipers.
3.3.4 Protect yourself from Spies
While you’re healing, you can turn around without breaking your healing beam. Make good use of this ability to check Spies regularly, as you are one of the most prioritize targets for them. When you discover one, alert your teammates using the ‘Spy!’ voice command, and let your teammate figure him. If your teammates are dumb enough that they ignore you, break the healing and deal with him yourself. Although Übersaw-ing him seems to be a good way to leech 25% Übercharge, you need to pay special attention to face-stabs and the Matador Stab, which can potentially cost your life. Therefore, my usual practise is to Syringe Gun him to death. Despite this, sawing Spies not facing at you is definitely a good option.
Act 4: Communication
Most of the time, as you are not involved in direct combat, the Medic should take up the role of the team’s eye-in-the-sky, and notify your teammates the current situation (Most preferably, using voice chat). Practise paying attention to the kill feed and the voice commands in the top right corner and the bottom left corner. The voice cues in game, such as ‘I’m charged!’ ‘Sentry Down!’ ‘Spy sapping my Dispenser!’ are something you also need paying attention to. From the above, you should be able to have a brief idea of what is going on: The position of the enemy’s Heavy-Medic pair, whether the enemy sentry is down, and perhaps the status of the best player in your team. With an in-depth understanding of the current situation and what the opposite team is up to, it will give you and your team an unrivaled advantage.
Act 5: Advanced Stuff
5.1 Multi-Über
Remember the effect of the Über will still linger on a player for a second or two after deployment? This skill exploits this, and allows you to Über multiple players at the same time. What you need to do is that, you keep switching healing targets after you unleash your Über. If done correctly, you are able to make two of your teammates to be fully invulnerable during the time of your Über, increasing the firepower of your assault. But beware, Multi-Über will make your charge drain faster, so I only recommend this method to be used if both of your healing targets have a high damage output (Either due to their class selection or their skill level). Also take any necessary protection as if this is a normal Über.
5.2 Chain Übercharge
Chain ÜberCharge, also known as an Überchain, is a tag team technique that allows two Medic players, both equipped with the Übersaw and Medi Gun, to maintain a constant state of invulnerability.
To successfully perform this technique, at least one player must have built up an ÜberCharge beforehand. The first player must then deploy his charge on the second, who in turn must use his Übersaw to attack enemy players and subsequently build up his own Übercharge meter. Once it is ready, the second player must then quickly deploy his ÜberCharge on the first Medic (usually before the first ÜberCharge is used up), who in turn switches to his Übersaw and attacks enemies to build up his ÜberCharge meter. If this chain can be repeated successfully, both Medics can remain invulnerable for extended periods of time whilst killing a multitude of enemies.
The technique requires good communication between the two Medics. Both should be aware of the status of both ÜberCharges in order to continue the chain uninterrupted, as well as knowing when to break off the chain should something go wrong.
Chain ÜberCharges can be an effective strategy for clearing a certain area of enemies, pushing through a strong defense or heading off an incoming attack. It is less effective, however, against buildings or for completing certain objectives such as capturing a point. The chain can be easily broken by Pyros utilizing the Compression Blast ability to separate the Medics, or with Scouts luring the chain into chasing them and wasting time. The attacking Medic, though, is not limited to using his Syringe Gun or Blutsauger to fend such classes off. Slower classes are a priority for the chain, as the Medics can easily reach and attack them.
Should the chain be broken, both Medics should escape the area and regroup later with another ÜberCharge ready.
When using the Überchain, different tactics should be used based on the classes you are facing:
Scout
Don’t even bother chasing after a Scout. It’s unlikely you will be able to hit them unless they run into your range.
Soldier
Soldiers are a good class to target. However, try not to put too much distance between you, your helper, and your target soldier, as they may use their rocket launcher to push you away and potentially apart from your other medic.
Pyro
Pyros are better off left alone, considering they can easily airblast your chain apart. However, a Pyro using the Phlogistinator is an easier target since they lack their airblast ability.
Demoman
Demomen are slow and therefore good targets. However, watch out, as they may use their explosives to blast you away from your other medic.
Heavy
Heavies are an ideal target. They lack speed and weapons that may be used to knock you back.
Engineer
Engineers are a good class to target, unless they are being guarded by a sentry. Sentry guns will easily push you back and away from your other medic.
Medic
Other medics are not much of a problem to you. However, they move just as quickly as you do (Even faster if they are healing a Scout with the Quick Fix) and are usually not worth your time to chase.
Sniper
Snipers are a good target. They may have their back turned depending on where you encounter them, so it will be easy to hit them with your Übersaw.
Spy
Spies are a good target. They have average speed and are powerless to push you back. They are unable to backstab you since you are invulnerable. However, spies are not a likely target to encounter since they will likely be disguised or invisible to avoid being seen and attacked.
5.3 Übercharge Combination
Deploying multiple ÜberCharges on one patient can be very helpful. However, it can also be wasteful, depending on how it’s done and what types of charges are used.
ÜberCharge + Kritzkrieg
This is the best type of combination ÜberCharge. A person who is completely invincible and can deal critical hits can be a dynamo of pain against the other team. However, the Medic deploying the Kritzkrieg should be more cautious, as he is still vulnerable. This combination is best used versus a large Heavy-Medic force, as it can quickly take down an enemy Heavy no matter how much incoming damage.
Kritzkrieg + Megaheal
This combination is the second-best one. While it doesn’t provide the invulnerability of the ÜberCharge, the patient is receiving an increased healing rate and the standard healing and overheal of the Kritzkrieg. The Kritzkrieg Medic should still hang back, as he is vulnerable. However, this combination can be built 25% faster than the first combination, allowing for more frequent use and easier coordination. This combination is best used versus a large Soldier and Demoman force, as it deals significant damage while preventing knockback which could separate the Medic and patient.
ÜberCharge + Megaheal
This combination is less effective than the previous two, as the Megaheal will not be providing any bonus healing. However, it will still provide knockback immunity, making this combination ideal for assaulting a large sentry nest, where the patient would be otherwise rendered useless by knockback. Although the Quick-Fix Medic has an increased heal rate, he should be cautious, as he is the most vulnerable.
ÜberCharge + ÜberCharge / Kritzkrieg + Kritzkrieg
Deploying two charges one after another in order to double the length of the effect can be effective in heavily-fortified areas that a single Über cannot break through. However, unless the recipient is a Heavy or a Pyro, they will be forced to spend most of the second charge either reloading their main weapon or firing a secondary one, which lowers the effectiveness of this strategy. Often, a team may best effect such a push with two separately affected teammates.
Megaheal + Megaheal
This is the only duplication which has stacking effect. The increased heal rate makes the target practically invulnerable to any damage which isn’t instantly lethal. This pairing builds 25% faster than a standard Übercharge, but provides similar invulnerability.
~~~~~~~~~~~~~~~~~~~~~~~~~~~~~~~~~~~~~~~~~~~~~~~~~~~~~~~~~~~~~~~~~~~~
Well this is the end of this guide, feel free to ask me questions. For those who wonder, part 5.2 and 5.3 are mainly copied from http://wiki.teamfortress.com/wiki/Medic. I only have slight adjustments.
Stay alive, be a team player, and turn the tide of the battle as you wish.
3 Comments
虽然我英语不太好,竟然看懂了。 My understanding about Medic: BLU Medigun, überCharge → Heavy > Pyro > Demoman > Soldier RED Kritzkrieg, überCharge → Demoman > Soldier > Heavy
on September 20, 2012 14:17:33
Well, in my opinion, Über Pyro is only useful when the area is tiny, Demo and Solly are basically your good-to-go teammates to Über. But anyways, thank you for spending your time to read the guide and appreciate it. Hope that this guide can help you Medic in some ways.
on September 20, 2012 23:54:57
if only more players could read this , too much wait for someone who will play medic instead learn how to be a good one ( or defend it) . (and keep calling medic when the medic is dead (dead player are easily seen at up of the screen ))
on October 28, 2016 17:53:23